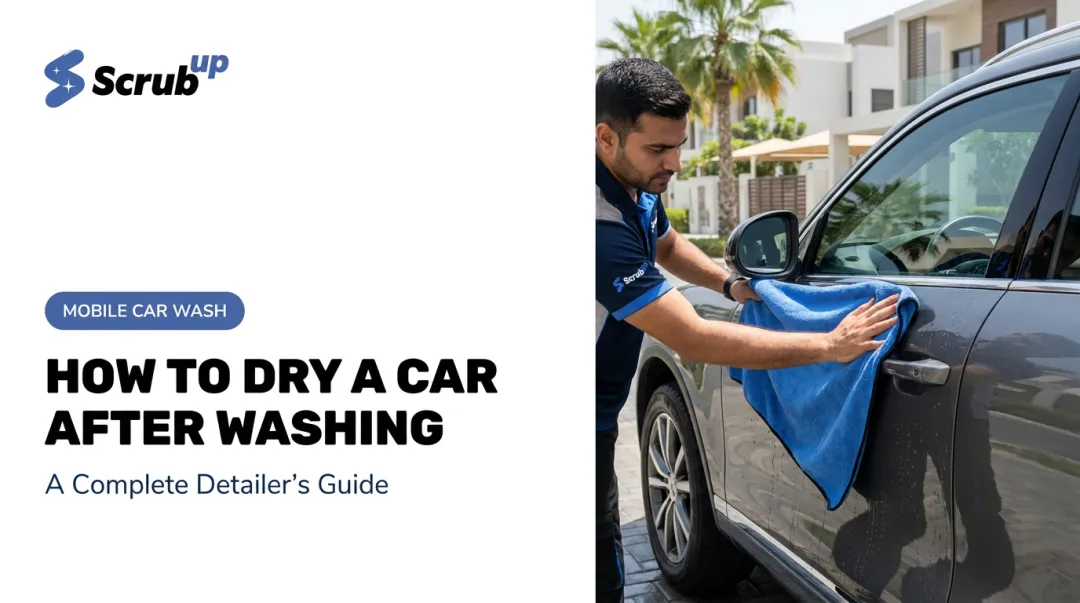
Interior detailing is a deep, systematic clean of every surface inside the cabin. That means upholstery, carpets, leather, hard plastics, glass, air vents, and door panels — not just a quick vacuum and a wipe with whatever cloth is nearby.
The problem is that results vary enormously depending on the order you follow, the products you use, and how well you understand the surfaces involved. In Dubai, this matters more than most places: extreme heat, desert dust, and fine sand accelerate interior wear faster than you'd expect. A dashboard left to bake in a parked car can reach close to 100°C, according to research on parked vehicle cabin temperatures — conditions that degrade surfaces and cause cleaning products to behave completely differently.
This guide covers exactly what you need, the right sequence of steps, what affects your results, and the mistakes that quietly ruin them — whether you're doing it yourself or want to know what a proper professional service should deliver.
Key Takeaways
- Always vacuum before applying any liquid cleaner — loose sand and grit scratch surfaces when wet
- Never apply cleaning products to sun-heated interiors; work in shade or during cooler hours
- Floor mats must dry completely outside the car before reinstalling to prevent trapped moisture and mold
- Household cleaners can permanently damage leather, vinyl, and plastic trims
- A full interior detail typically takes 3–5 hours and should be repeated every 3–6 months
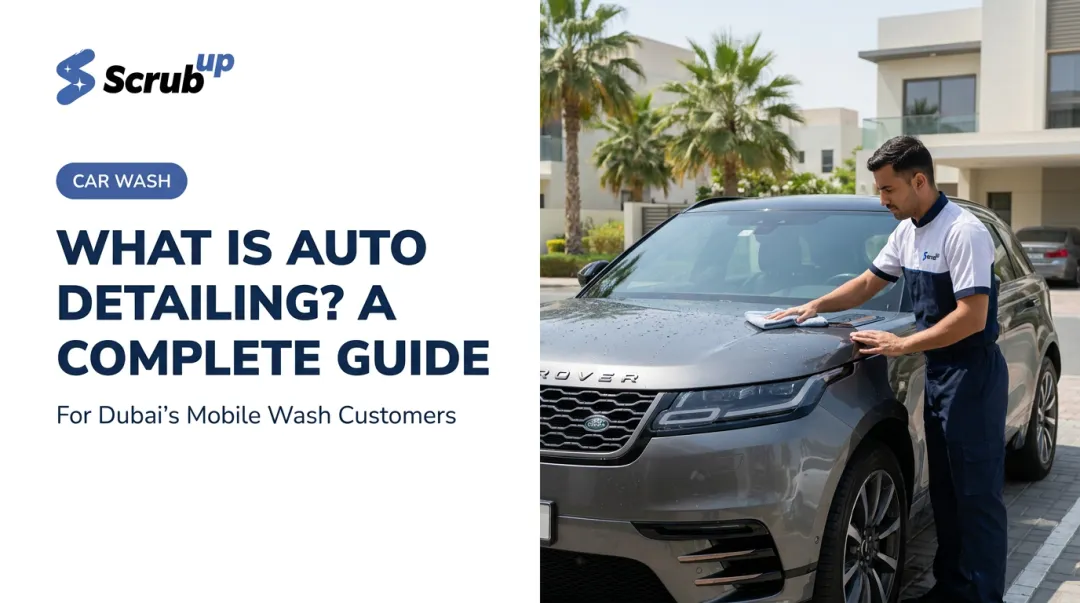
What Is Car Interior Detailing?
Interior detailing is a complete, multi-step cleaning and restoration process, not a surface tidy-up. The International Detailing Association defines detailing as thorough cleaning and reconditioning through a meticulous, step-by-step process, distinguishing it clearly from routine cleaning like a surface wipe-down or a quick vacuum run.
In practice, a proper interior detail covers:
- Upholstery and fabric seat cleaning
- Leather cleaning, conditioning, and protection
- Hard plastic and vinyl surface treatment
- Carpet and floor mat deep cleaning
- Air vent and crevice cleaning
- Interior glass cleaning
- Odor elimination
Why It Matters Beyond Appearance
The hygiene case is real. A peer-reviewed study on car interior bacteria found high bacterial colonization on production steering wheels, while separate research identified house dust mite allergens trapped inside vehicle cabins. In a sealed car exposed to Dubai's heat, bacteria multiply faster — making regular deep cleaning a genuine health consideration.
There's also the wear argument. Dirt and grit left on leather and fabric act as abrasives with every seated movement, gradually degrading leather and fabric surfaces. A well-maintained interior directly supports a vehicle's resale value — a neglected cabin is one of the first things a buyer or appraiser notices.
The global car detailing services market reflects this demand: Grand View Research projects it will reach USD 58.06 billion by 2030, growing at 5.9% annually, with the interior detailing segment highlighted as a key driver.
What You Need Before You Start
Preparation determines results. Gathering everything before you begin means you won't stop mid-process to find a product — and you won't improvise with something that damages a surface.
Before touching anything: park in shade or indoors, and confirm all surfaces are cool to the touch. Never apply any product to a sun-heated dashboard, seat, or glass panel.
Cleaning Products
- All-purpose interior cleaner or degreaser
- Hard surface/plastic cleaner
- Interior dressing or protectant (UV protection)
- Leather cleaner and conditioner (if applicable)
- Carpet and upholstery cleaner
- Spot stain remover
- Automotive glass cleaner
- Odour eliminator
Important: Always use products formulated for automotive surfaces — household cleaners containing bleach, ammonia, or alkaline agents can discolour leather, strip vinyl, and leave residue on plastics. Tesla's owner manual explicitly warns against products with alcohol, bleach, citrus, naphtha, and silicone additives, and similar guidance appears in Lexus and Toyota OEM bulletins.
Equipment
- Vacuum with crevice and upholstery attachments
- Microfiber cloths (several — use separate ones per surface type)
- Soft-bristle brush
- Stiff-bristle brush (for mats and carpet agitation)
- Applicator pads
- Disposable gloves
How to Detail Your Car Interior: Step-by-Step
Step 1: Remove Clutter and Vacuum Everything
Clear the cabin first: personal items, rubbish, anything loose from the boot. Then vacuum every surface: seats, floor carpets, boot lining, and every crevice around the center console, under seats, and in door pockets. Use the crevice tool throughout.
This step is the foundation of the entire process. Applying liquid cleaner to a surface that still carries loose sand, dust, or crumbs causes that debris to spread, scratch delicate surfaces, or get worked deeper into fabric. It cannot be skipped or rushed.
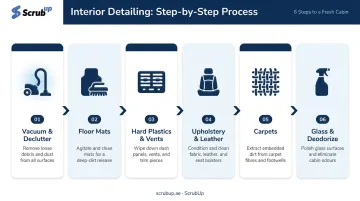
Step 2: Remove, Clean, and Dry the Floor Mats
Take all floor mats out and treat them separately. Saturate with a carpet cleaner or degreaser, agitate with a stiff-bristle brush on heavily soiled areas, then rinse thoroughly. Set them aside to air dry (not inside the car).
Carpeted mats can take up to 24 hours to dry fully. Reinstalling damp mats traps moisture beneath them, which creates mold and persistent odor. According to the EPA, wet or damp materials dried within 24–48 hours usually avoid mold growth; anything longer, and the risk increases significantly.
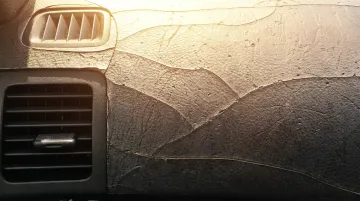
Step 3: Clean Hard Plastics and Air Vents
Work across all hard surfaces: dashboard, center console, door panels, cupholders, steering wheel, gear surround, air vents, and seat backs. Apply an automotive-grade hard surface cleaner to a microfiber cloth, not directly onto the dashboard (especially near vents or screens).
Use a soft brush to work product into air vents and around buttons. Once clean and dry, apply an interior dressing or protectant to guard against UV fading and cracking.
One caution: never apply dressing or protectant to the steering wheel, brake pedal, or accelerator. These are grip surfaces; a slick coating creates a genuine handling hazard.
Step 4: Clean Upholstery and Leather
Fabric Seats
- Spot-treat visible stains first: apply a compatible spot remover and work with a soft-bristle brush in gentle circular motions
- Apply an upholstery cleaner across all fabric surfaces
- Blot or extract rather than scrubbing aggressively, which can distort fibers
Leather Seats
- Identify the leather type (coated, aniline, or vinyl/bonded) before selecting a cleaner; incompatible products cause discoloration
- Always test any new product on a small, inconspicuous area first
- After cleaning, apply a leather conditioner to restore moisture and prevent cracking
- Follow with a protectant for UV resistance and stain protection
Step 5: Clean Carpets and Remaining Fabric
After spot treatment, apply a carpet and upholstery cleaner to the floor areas and any fabric-lined boot surface. Agitate with a soft brush if needed. The key rule here is not to over-saturate: blot or extract rather than soaking the material.
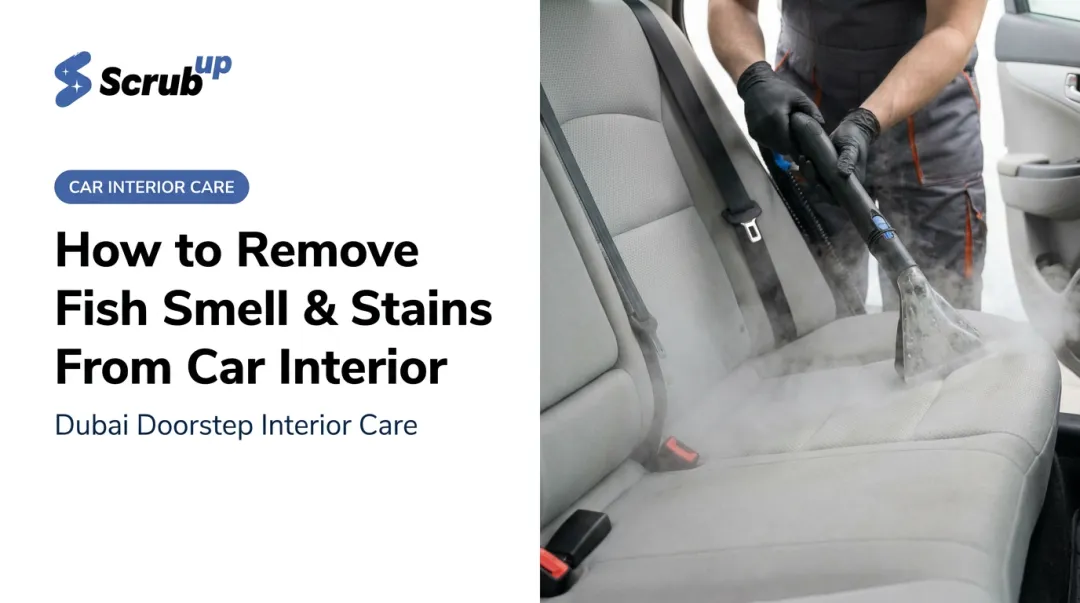
Allow adequate drying time with the doors open. Trapped moisture in car carpets is one of the most common causes of persistent odor, and in Dubai's climate, a sealed, sun-exposed cabin accelerates bacterial growth. Steam cleaning at high temperatures is among the most effective methods for eliminating embedded bacteria before it takes hold. In humid conditions, mold can develop within days if carpets are not dried properly.
Step 6: Clean Interior Glass and Deodorize
Clean interior glass last: doing it earlier means airborne product from other steps will re-contaminate it. Roll all windows fully up before starting.
Apply an automotive glass cleaner with a clean microfiber cloth. Use vertical strokes on the inside and horizontal strokes on the outside; if streaks appear, you'll know immediately which side they're on. This technique comes directly from Chemical Guys' guide to streak-free glass cleaning.
Once all surfaces are clean and dry, apply an odor-eliminating spray. One important distinction: deodorizers only mask smell unless the underlying source (a stain, spill, or mold) has already been removed. Address the cause first; the deodorizer handles residual trace odor.
Reinstall the fully dry floor mats to complete the detail.
Key Factors That Affect Your Results
Even with the right products and the correct sequence, a few variables consistently separate a professional-looking finish from a mediocre one.
Product Compatibility
Using the wrong cleaner on leather, vinyl, or tinted glass is the most common cause of avoidable damage. Always verify a product is rated for your specific surface type and test it on a small hidden area before full application.
Dwell Time
Interior cleaners need contact time to work. Griot's Garage specifies a 10–15 second dwell time for their interior cleaner before agitation. Removing product too quickly cuts effectiveness; leaving it too long on sensitive surfaces can cause damage. Follow the product's guidance exactly.
Climate
This is the factor most people underestimate in Dubai. Interior surfaces in an unshaded parked car can reach extreme temperatures.
Cleaning products applied to a hot dashboard or seat dry almost immediately, leaving white residue, uneven application, and streaks. Always work in shade, during cooler hours, and make sure surfaces have cooled before you start.
Common Mistakes When Detailing a Car Interior
Even careful attempts can go wrong with the wrong technique or product. These are the five mistakes that most often undo an otherwise solid interior detail:
- Skipping the vacuum before wet cleaning — sand and grit spread across surfaces when introduced to moisture, scratching delicate materials and pushing debris deeper into fabric
- Using household or multi-purpose cleaners — products not made for automotive surfaces can strip leather, discolor plastics, and leave residue that pulls in more dust
- Working in direct sun or on hot surfaces — in Dubai's climate, this turns a quick job into streaks, residue, and uneven application
- Applying protectant without cleaning first — sealing a layer of dressing over dust or grime locks it in, making surfaces look greasy and uneven
- Using dish soap on fabric — it leaves a sticky residue that causes carpets and upholstery to re-soil faster than before
When to Consider a Professional Interior Detail
DIY detailing works well for regular maintenance. But some situations genuinely require professional equipment:
- Heavily soiled interiors with embedded stains or pet hair
- Persistent odors that don't respond to surface treatment
- Leather that is cracking, fading, or needs restoration
- Vehicles that haven't been detailed in over a year
- Post-flood or water intrusion situations
Professional detailers use wet-dry extraction machines and high-temperature steam systems that aren't practical for home use. Wet extraction — which sprays cleaning solution deep into textile fibers then suctions it out — removes contamination that surface wiping can't reach.
For Dubai residents who want a thorough interior clean without the time, effort, or equipment, ScrubUp offers a mobile service that comes directly to your parking spot, whether that's a basement bay, a gated community, or an office car park.
Their Steam Wash (AED 105) uses controlled vapor at 170°C to sanitize upholstery, eliminate bacteria, and remove embedded odors without harsh chemicals. The Pressure Wash (AED 75) includes a full interior vacuum, cabin wipe-down, and air freshener as standard. Book via the app, website, or WhatsApp — no travel, no queuing.
Frequently Asked Questions
What is interior detailing in a car?
Interior detailing is a deep cleaning and restoration process covering every surface inside the cabin — upholstery, carpets, leather, hard plastics, glass, and air vents. Unlike a basic vacuum or wipe-down, it includes stain treatment, conditioning, protectant application, and odor elimination.
Is it worth detailing your car interior?
Yes. Detailing preserves interior materials, removes allergens and bacteria, eliminates odors, and prevents premature wear from abrasive dirt. A clean interior also supports resale value — it's one of the first things a potential buyer notices.
How often should you detail your car's interior?
Most detailing professionals recommend a full interior detail every 3–6 months, with basic maintenance (vacuum and wipe-down) done monthly in between. In Dubai's dusty environment, or for vehicles carrying children or pets, every three months is a better target.
How long does it take to detail a car interior?
A thorough DIY interior detail typically takes 3–5 hours depending on vehicle size and condition. Rushing the process — particularly drying times for carpets and floor mats — is one of the most common causes of poor results, including odors and mold.
What's the difference between interior cleaning and interior detailing?
Interior cleaning is routine maintenance: vacuuming, surface wiping, clearing out trash and debris. Interior detailing is a deeper process that includes stain treatment, leather conditioning, protectant application, odor elimination, and glass cleaning — restoring the interior rather than simply tidying it.